How to make the flag of Cuba as a banner in Minecraft
The national flag of Cuba (Spanish: Bandera de Cuba) consists of five alternating stripes (three blue and two white) and a red equilateral triangle at the hoist, within which is a white five-pointed star. It was designed in 1849 and officially adopted May 20, 1902. The flag is referred to as the Estrella Solitaria, or the Lone Star flag. (Source: Wikipedia)
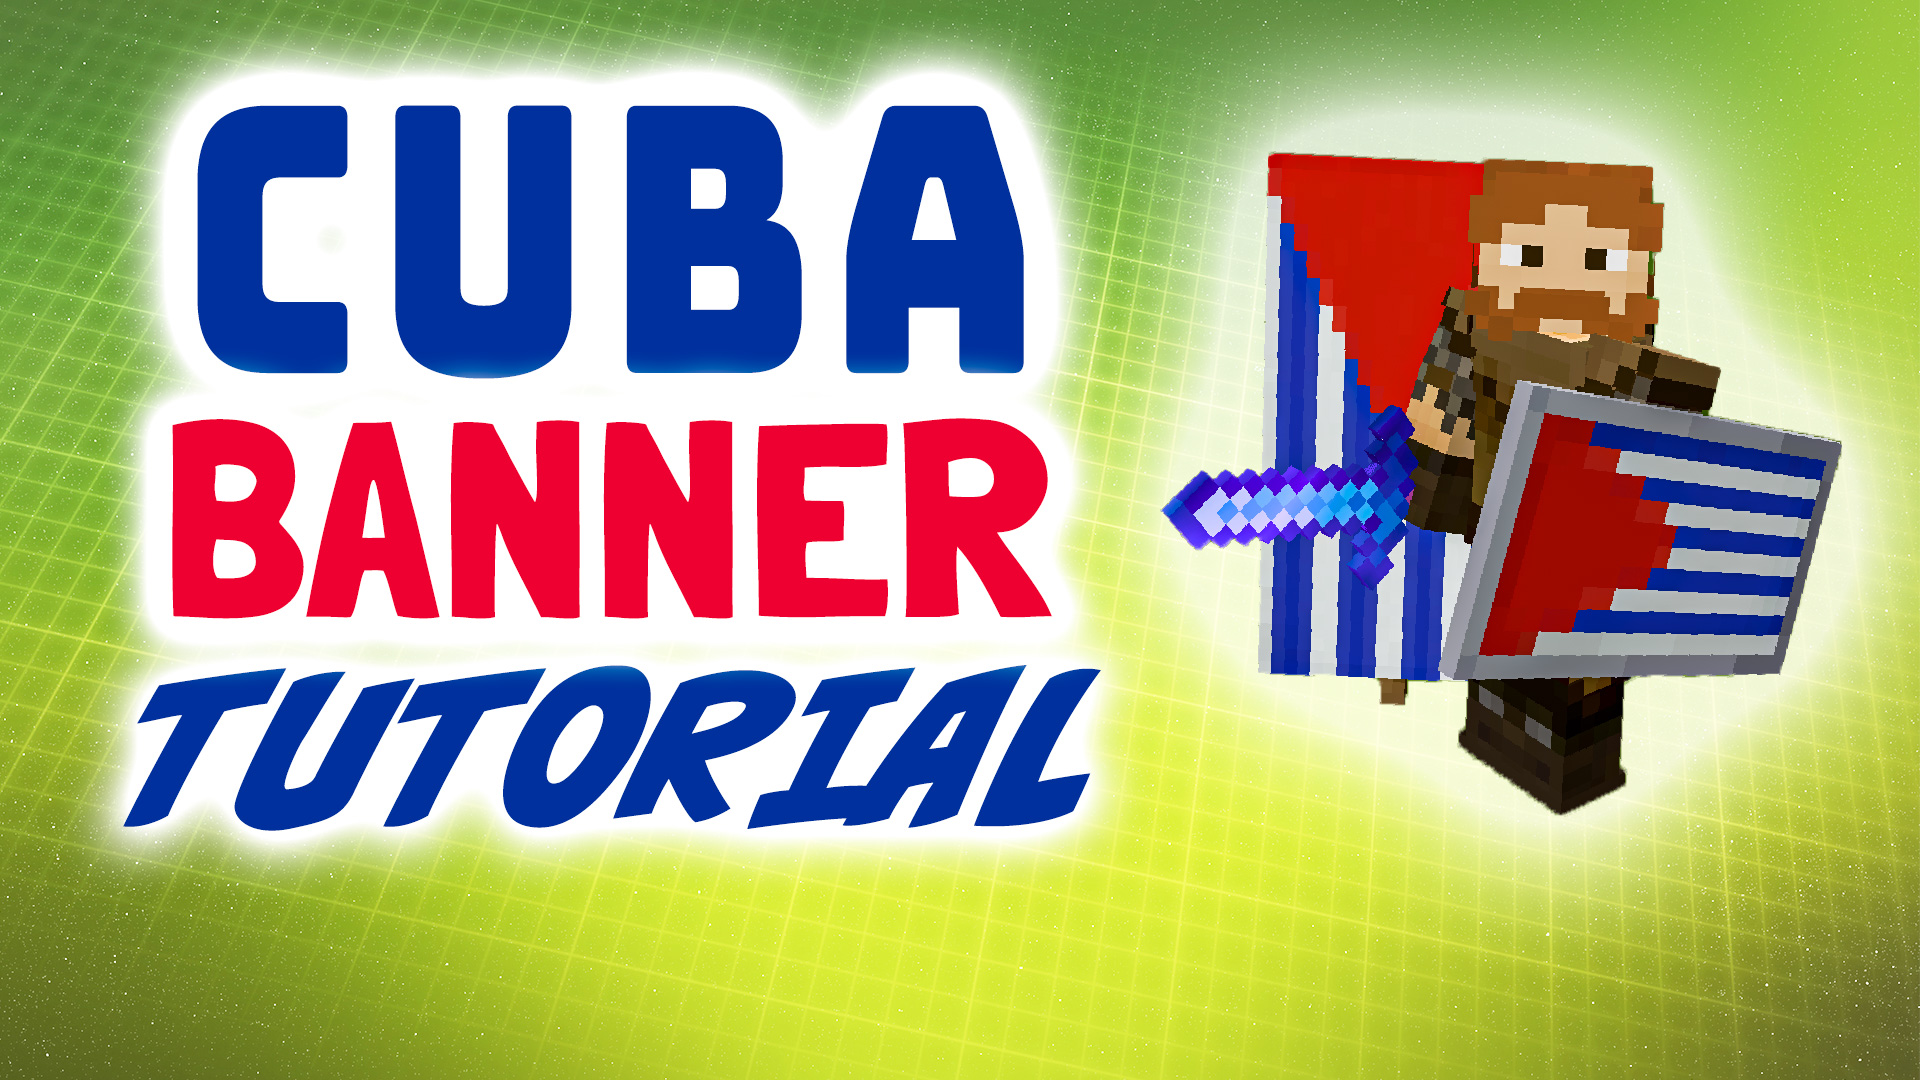
If you’re looking for a new Minecraft banner to display, then look no further! In this video, I’ll show you how to make the flag of Cuba as a banner in Minecraft using the loom. It’s going to be the perfect addition to your Minecraft house or building.
There are only a few steps to make it into a banner in Minecraft. After that you can put it on an item frame and even on a shield.
You need:
- A Loom (2x string and 2x planks)
- Min 1x white banner (six white wool + one stick)
- 1x Flower Charge
- 2x White Dye
- 2-4x Light Blue Dye
- 1x Shield (for Java edition only)
How to make it:
- Make a loom. Put two strings and two planks together in the crafting table.
- Make white banners using 1 stick and white wool in the crafting table.
- Bring the white banner in to the loom.
- Add blue dye and pick the Paly design. Do that twice.
- Add red dye and pick the Inverted Chevron design. Do that twice as well.
Unfortunately, there is no way to get the star in to the banner in Minecraft so that’s the finished Cuba flag as a banner all done! So now we want to put the Cuban banner on our shield, but first we want a couple more of these banners so we can decorate the village with them.
- Put the finished Cuban banner in the crafting table. Add more white banners next to it. That’s how you copy or duplicate the banners.
- Now put one of these Cuban banners next to a shield in the crafting table and now you have a Cuban shield! This only works in Java edition however! At least for now.