How to make the flag of Nicaragua as a banner in Minecraft
The flag of Nicaragua was first adopted on September 4, 1908, but not made official until August 27, 1971. It is based and inspired on the flag of the Federal Republic of Central America and flag of Argentina. (Source: Wikipedia)
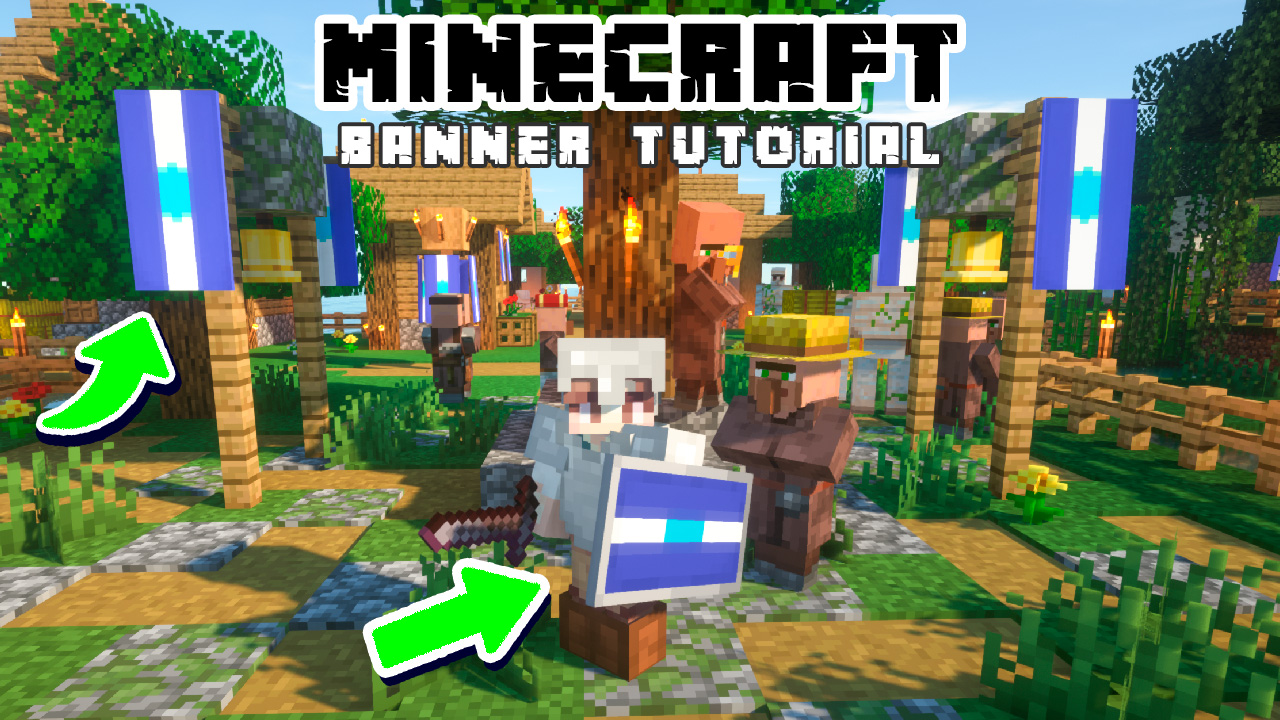
If you’re looking for a new Minecraft banner to display, then look no further! In this video, I’ll show you how to make the flag of Nicaragua as a banner in Minecraft using the loom. It’s going to be the perfect addition to your Minecraft house or building.
There are only a few steps to make it into a banner in Minecraft. After that you can put it on an item frame and even on a shield.
You need:
- White banners (six white wool + a stick)
- A loom (2 string and 2 planks)
- 1x Yellow Dye
- 1x Light Blue Dye
- 4x Blue Dye
- 1x Shield (Java Edition only)
How to make it:
- Make a loom. Put two strings and two planks together in the crafting table.
- Make white banners using one stick and six white wool in the crafting table.
- Bring the white banner in to the loom.
- Add yellow dye and pick the Roundel design.
- Add light blue dye and pick the Roundel design.
- Add blue dye and pick the Pale Dexter design. Do this twice.
- Add blue dye and pick the Pale Sinister design. Do this twice as well.
That’s the finished Nicaragua flag as a banner all done! So now we want to put the Nicaragua banner on our shield, but first we want a couple more of these banners so we can decorate the village with them.
- Put the finished Nicaraguan banner in the crafting table. Add more white banners next to it. That’s how you copy or duplicate the banners.
- Now put one of these Nicaraguan banners next to a shield in the crafting table and now you have a Nicaraguan shield! This only works in Java edition however! At least for now.